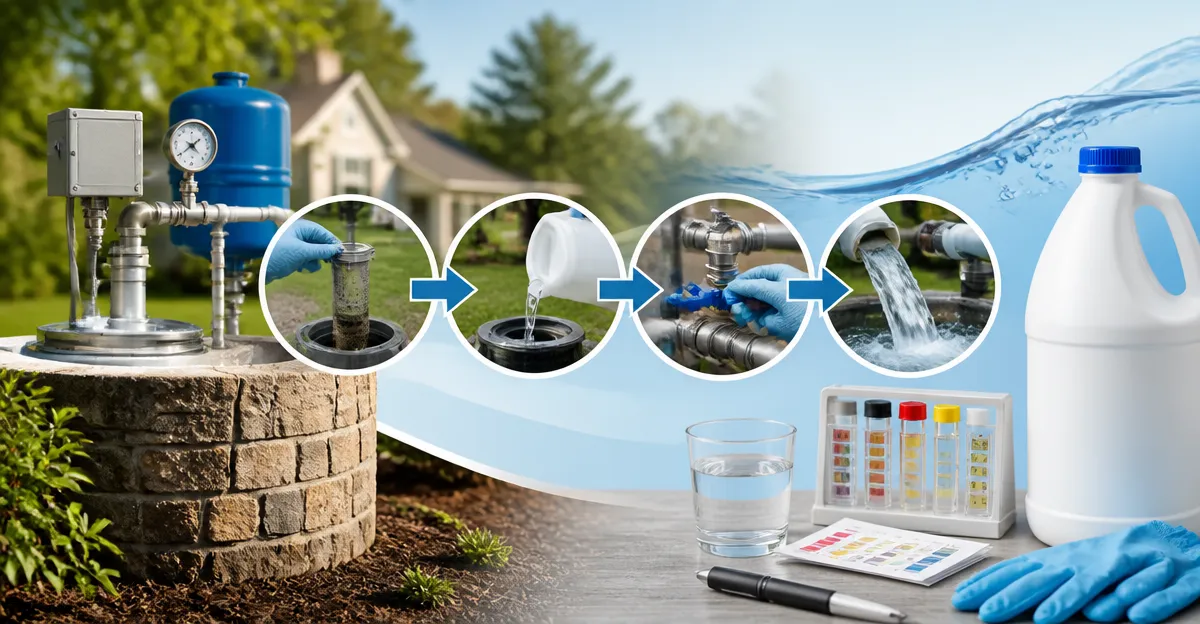
How to Disinfect a Private Well After Contamination: Step-by-Step Best Practices for Safe, Effective Chlorination and Testing
Private well owners face a unique set of challenges when water quality deteriorates due to bacterial, chemical, or sulfur contamination. This guide explains precisely what one must do to restore safe drinking water, from initial assessment through final testing, using proven chlorination techniques and reliable disinfectant products. The reader will learn how to evaluate the severity of contamination, prepare the well for treatment, apply the correct dosage of disinfectant, and verify that the water meets health standards. By following these instructions, one can protect family health, avoid costly professional repairs, and maintain confidence in a private water supply.
What You’ll Need
- Protective gloves and goggles
- Measuring container (5‑gallon bucket)
- Stirring stick or long‑handled paddle
- Well pump and hose
- Water testing kit (coliform, chlorine residual)
- Well Safe Well Sanitizer Kit – USDA food‑grade chlorine solution for well shock treatment
- OdoBan Disinfectant Cleaner (Gallon) – EPA‑registered disinfectant for post‑treatment cleaning
- OdoBan Disinfectant Spray (32 oz) – Ready‑to‑use surface sanitizer
- Vital Oxide Disinfectant (Gallon) – Food‑contact sanitizer for ongoing maintenance
- Vital Oxide Disinfectant (32 oz) – Portable version for spot treatments
Step 1: Confirm the Contamination
Before any chemical is introduced, one must verify that the well water is indeed compromised. Collect a sample in a sterile container and send it to a certified laboratory for coliform, total bacterial count, and any specific contaminants such as iron or hydrogen sulfide. Visual cues such as a strong sulfur odor, cloudy appearance, or an unusual taste often indicate the need for immediate action, but laboratory confirmation prevents unnecessary chemical use. If the test results show bacterial presence above 0 CFU/100 mL, proceed to the next step.
Step 2: Prepare the Well and Equipment
Shut off the well pump and relieve pressure by opening a downstream faucet until water stops flowing. Remove any debris from the wellhead, and ensure that the casing is intact. Wearing protective gloves and goggles, set up a clean 5‑gallon bucket near the well for measuring disinfectant. This preparation reduces the risk of cross‑contamination and ensures accurate dosing.
The Well Safe Well Sanitizer Kit is specifically formulated for well water treatment; it contains USDA food‑grade chlorine that is safe for drinking water when used at the recommended concentration. The kit includes a measuring cup and clear dosage instructions, making it ideal for homeowners who lack specialized equipment.
Step 3: Perform Shock Chlorination
Calculate the required chlorine dose based on the well’s volume. A common guideline is 50 mg of chlorine per liter of water, which translates to approximately 1 cup (240 mL) of the Well Safe solution for a 1,000‑gallon well. Pour the measured disinfectant into the bucket, then add water to create a uniform solution. Using a long‑handled paddle, circulate the solution throughout the well by running the pump in reverse for 15‑20 minutes; this ensures that chlorine reaches all interior surfaces.
After circulation, allow the chlorine to sit undisturbed for at least 12 hours. This contact time is critical for destroying resilient microorganisms such as Legionella and Mycobacterium. During this period, keep all faucets closed to maintain the disinfectant concentration within the system.
Step 4: Flush the System and Test Residual Chlorine
After the 12‑hour dwell, reopen the well pump and flush the system by running water through all faucets until the chlorine smell dissipates, typically 5‑10 minutes. Collect a second water sample and test for residual chlorine; a reading between 1 and 3 ppm indicates successful disinfection. If the residual is lower than expected, repeat the shock chlorination with a slightly higher dose.
For post‑treatment cleaning of the wellhead and surrounding surfaces, the OdoBan Disinfectant Cleaner (Gallon) provides a broad‑spectrum EPA‑registered formula that eliminates remaining biofilm and odor. Apply the cleaner with a brush, let it sit for 5 minutes, then rinse thoroughly. This step prevents re‑contamination from surface microbes.
Step 5: Disinfect Interior Surfaces and Equipment
Many well owners neglect the interior components such as pump housings and pressure tanks, which can harbor residual bacteria. Spray the OdoBan Disinfectant Spray (32 oz) onto these surfaces, ensuring complete coverage. The ready‑to‑use formulation requires no dilution, making it convenient for spot treatments. Allow the spray to remain for at least 10 minutes before wiping clean with a damp cloth.
If the well supplies water for irrigation or livestock, consider a secondary treatment with Vital Oxide Disinfectant (Gallon). This product is a food‑contact sanitizer that kills mold, mildew, and a wide range of pathogens while being safe for animals and plants. Dilute according to the label, circulate, and then flush the system as described in Step 4.
Step 6: Conduct Final Water Testing and Documentation
The final step is to verify that the well water meets safety standards. Submit a third sample to a certified laboratory for coliform, E. coli, and chlorine residual testing. Acceptable results are no detectable coliforms and a chlorine residual of 1‑3 ppm. Record all test results, dosage calculations, and dates of treatment in a well‑maintenance log. This documentation is valuable for future inspections and for tracking the effectiveness of maintenance practices.
For ongoing maintenance, the Vital Oxide Disinfectant (32 oz) offers a portable solution for periodic sanitization of storage tanks, irrigation lines, or small backup wells. Keeping a small bottle on hand allows quick response to any future contamination events.
Tips & Pro Tips
- Always wear protective gear when handling chlorine or disinfectants to avoid skin and eye irritation.
- Maintain a regular testing schedule—at least quarterly—to detect problems before they become severe.
- If the well is shallow (<30 ft), consider installing a vented well cap to reduce the ingress of surface contaminants.
- Document every dosage, flushing time, and test result; this record simplifies troubleshooting and may be required for insurance claims.
- Never mix different disinfectants together; doing so can produce hazardous gases.
Troubleshooting
Problem: Persistent sulfur odor after treatment.
Solution: Perform a second shock chlorination using a higher dose of the Well Safe Well Sanitizer Kit, then flush the system thoroughly. If odor remains, test for hydrogen sulfide and consider a specialized sulfur removal system.
Problem: Low chlorine residual on final test.
Solution: Verify that the well volume was calculated correctly; under‑dosing is a common cause. Increase the chlorine amount by 10‑20 % and repeat the shock.
Conclusion
Disinfecting a private well after contamination is a systematic process that combines accurate testing, proper chemical dosing, thorough flushing, and diligent post‑treatment cleaning. By following the six steps outlined above, one can restore water safety, protect public health, and avoid expensive professional services. Regular monitoring and the occasional use of products such as the Well Safe Well Sanitizer Kit or OdoBan Disinfectant Cleaner will ensure that the well remains a reliable source of clean water for years to come.
Products Mentioned in This Guide
Frequently Asked Questions
What is the first step before disinfecting a private well after contamination?
Conduct an initial assessment of water quality and identify the type of contamination to determine the appropriate treatment plan.
Which safety gear is essential when chlorinating a private well?
Wear protective gloves and goggles to prevent chemical exposure during the disinfection process.
How do I calculate the correct chlorine dosage for well disinfection?
Use a measuring container (e.g., a 5‑gallon bucket) and follow product guidelines to add the recommended amount of chlorine based on well volume.
What equipment is needed to circulate the disinfectant throughout the well?
A well pump, hose, and a long‑handled stirring paddle are used to mix and circulate the chlorine solution evenly.
How can I verify that the well water is safe after treatment?
Test the water with a coliform and chlorine residual kit to ensure it meets health standards before using it for drinking.